1) Metal cap – logger outside the jar
For NanoVACQ Flat Needle, PicoVACQ 1Tand NanoVACQ 1Td with threaded rod.
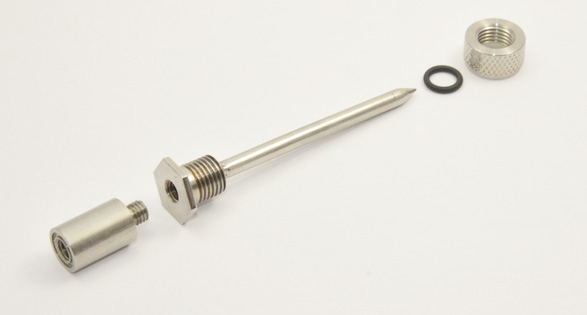
The temperature sheath kit (PROBE_PE_T) includes a thermowell, a nut and a watertightness o-ring, it can be completed by one or more metal (LOT_E) or PEEK (ENT_PEEK) spacers.
- Pierce the cap at its center with a punch.
- Put the sheath through the hole by the top of the cap. The end of the thermowell must be at the cold point.
- Place the o-ring under the cap and screw the nut.
- Close the jar.
- Fit the logger probe in the sheath, with or without spacers.
.jpg)
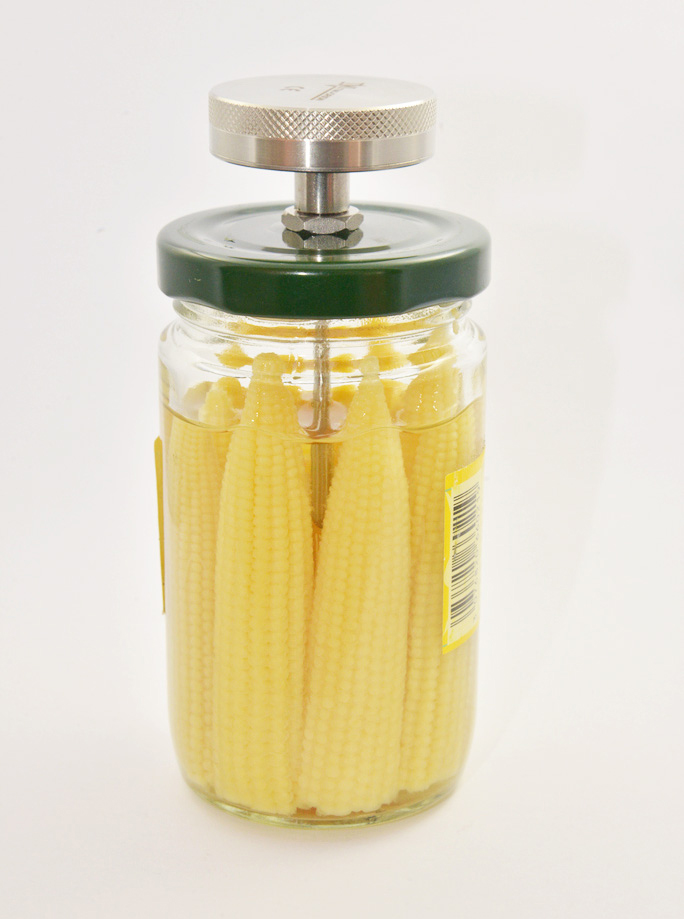
Assembly with the Temperature sheath kit (PROBE_PE_T) and metal spacer (LOT_E)
2) Metal cap – logger inside the jar
For PicoVACQ with thread.
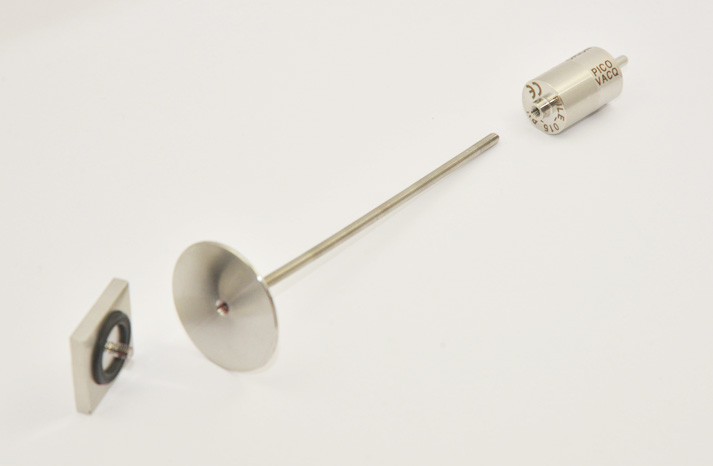
Le Positioning kit - straight (KIT_TIN_PVQ) includes a double plate with thread and a threaded rod to maintain the logger high up. It is used with high temperature adhesive tape or across the cap.
Across the cap:
- Pierce the center of the cap with an awl.
- Place the first plate by inserting its thread through the cap wall.
- Screw the second plate on the thread of the first.
- Screw the threaded rod on the plate.
- Screw the logger on the threaded rod. The logger sensor must be at the cold point.
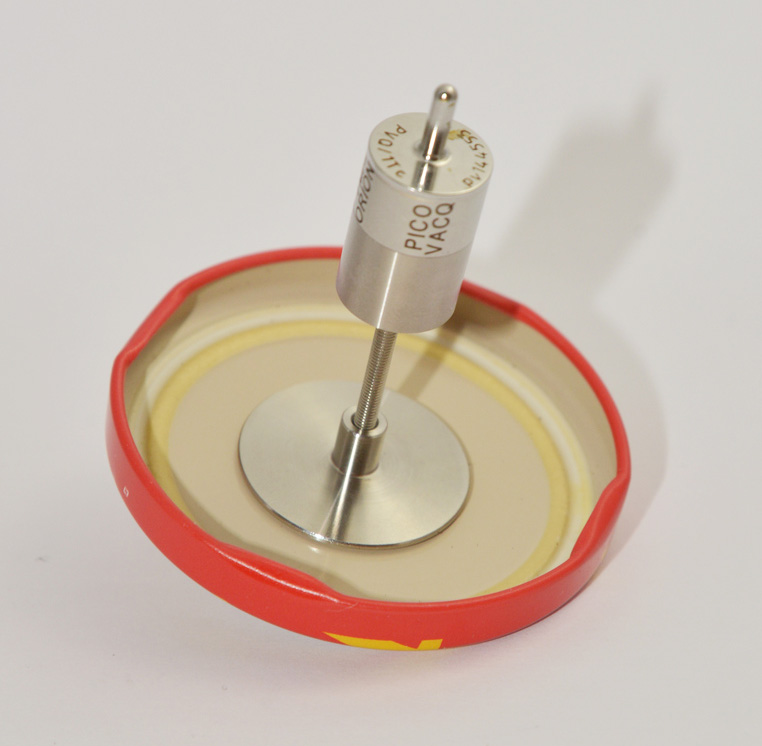
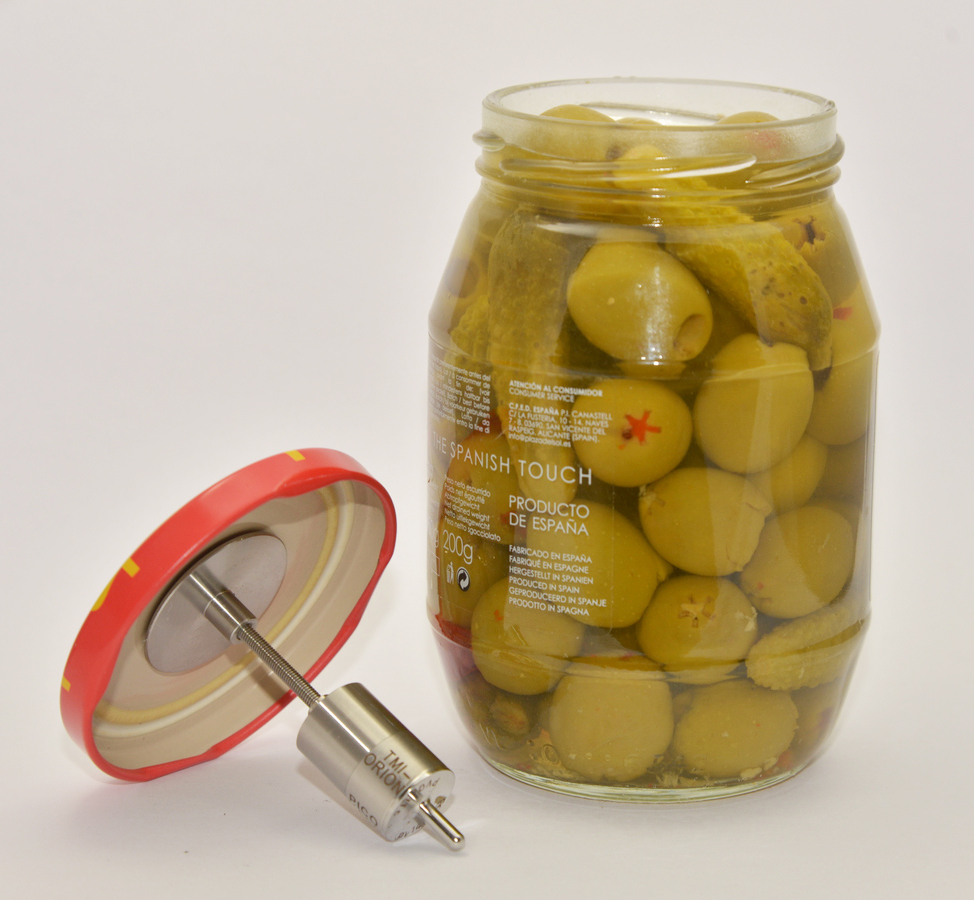
Assembly with the Positioning kit - straight (KIT_TIN_PVQ) across the wall.
For use with high temperature adhesive tape (ADHESIF-HT) :
- Glue the plate to the bottom of the jar with a piece of high temperature adhesive tape.
- Screw the threaded rod on the plate.
- Screw the logger on the threaded rod. The logger sensor must be at the cold point.
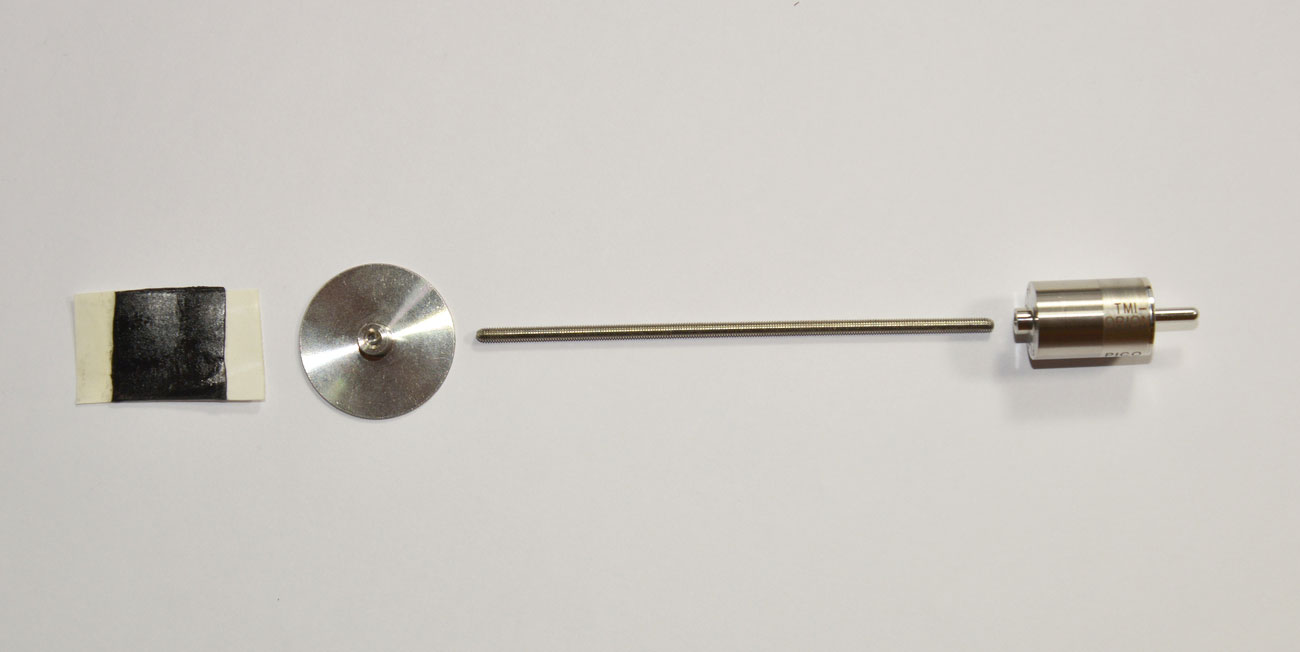
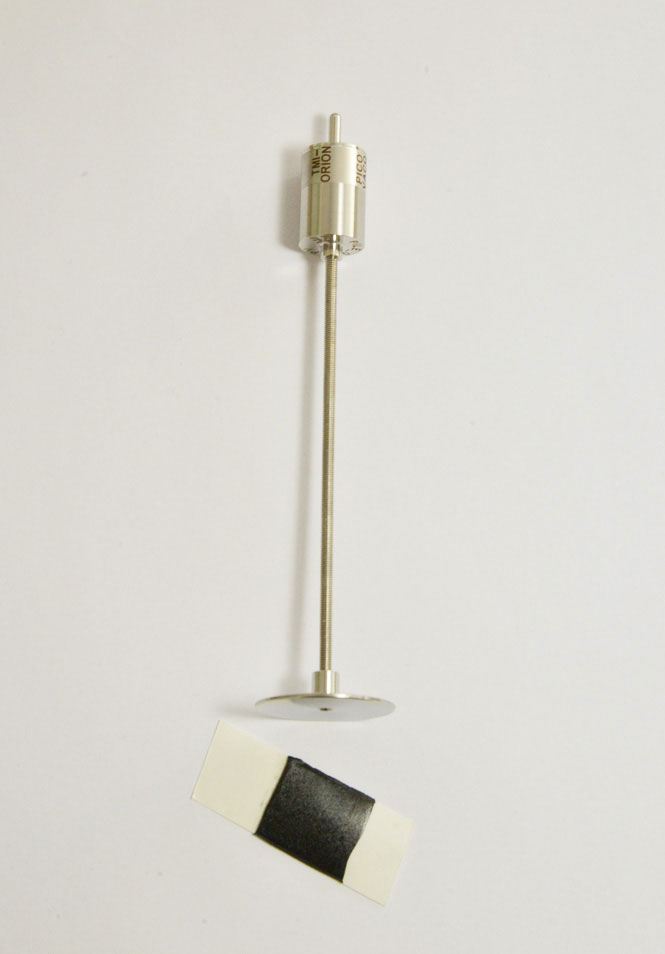
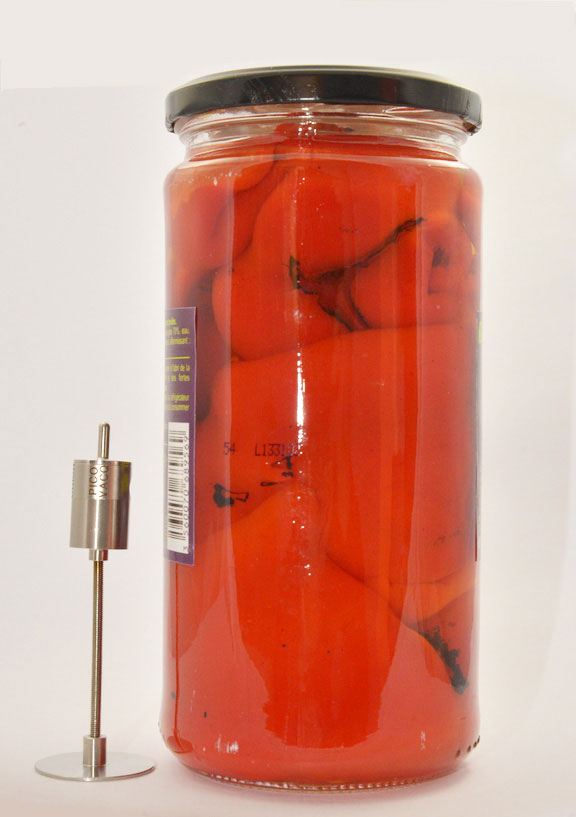
Assembly with the Positioning kit - straight (KIT_TIN_PVQ) and high temperature adhesive tape (ADHESIF_HT)
.


