Positioning Kits for cans
The positioning kits for cans help maintaining the logger sensor at the cold point inside the process. Depending on the applications, the logger will be placed inside or outside the container. The following examples are usual devices, but customization can be studied upon request.
Logger outside the metal can - across the wall
- Pierce the can at its center with a punch.
- Put the sheath through the hole by the outside of the can. The end of the thermowell must be at the cold point.
- Place the o-ring on the sheath inside the can and screw the nut.
- Fit the logger probe in the sheath, with or without spacers.
The Temperature sheath kit (PROBE_PE_T) includes a thermowell, a nut and a watertightness o-ring, it can be completed by one or more metal (LOT_E) or PEEK (ENT_PEEK) spacers.
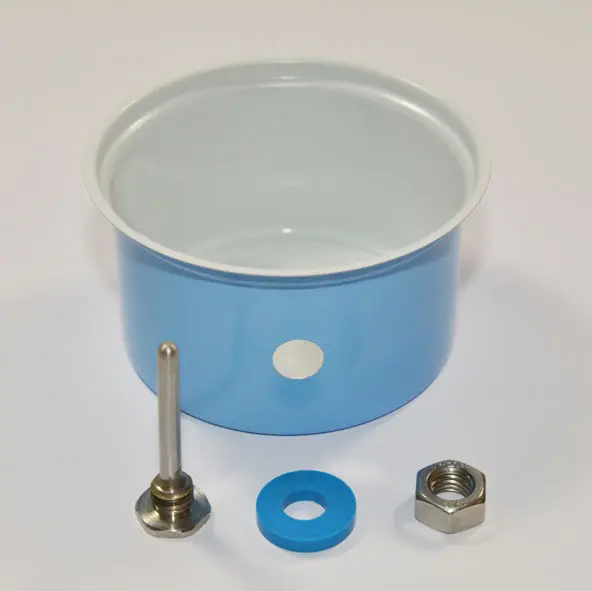
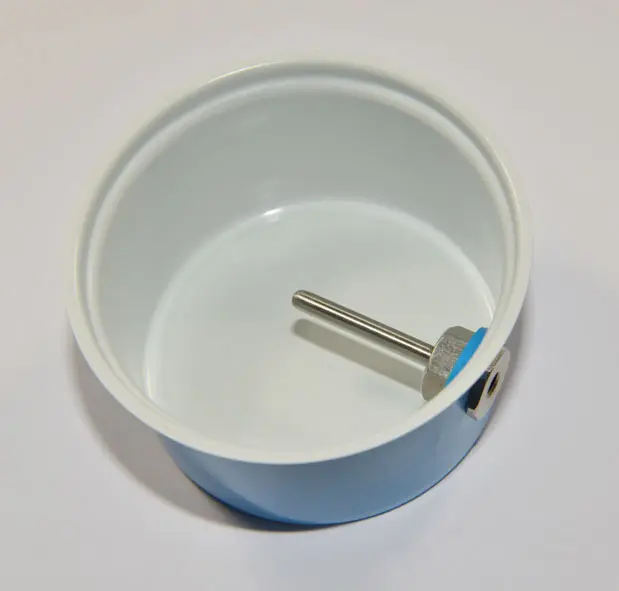
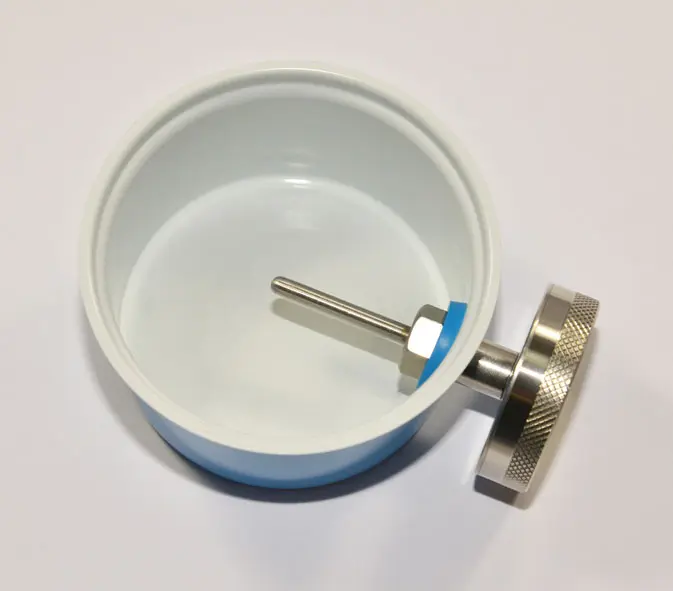
For NanoVACQ Flat Needle, PicoVACQ 1Td et NanoVACQ 1Td avec sonde filetée.
Assembly with the Temperature sheath kit (PROBE_PE_T).
Logger inside the metal can - high up positioning
- Stick the plate to the bottom of the can with a piece of high temperature adhesive tape.
It is used with high temperature adhesive tape (ADHESIF-HT):
- Screw the threaded rod on the plate.
- Screw the logger on the threaded rod. The logger sensor must be at the cold point.
For PicoVACQ with thread.
the Positioning kit - straight (KIT_TIN_PVQ) includes a double plate with thread and a threaded rod to maintain the logger high up.
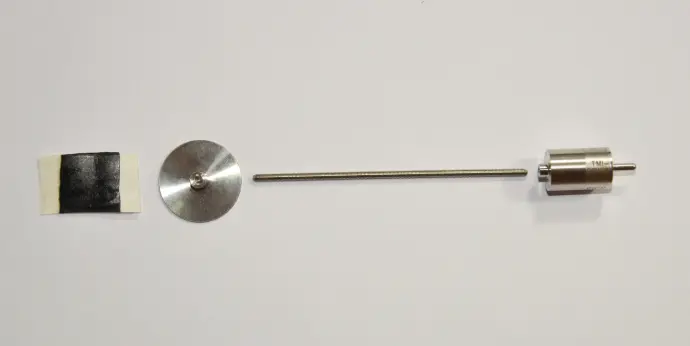
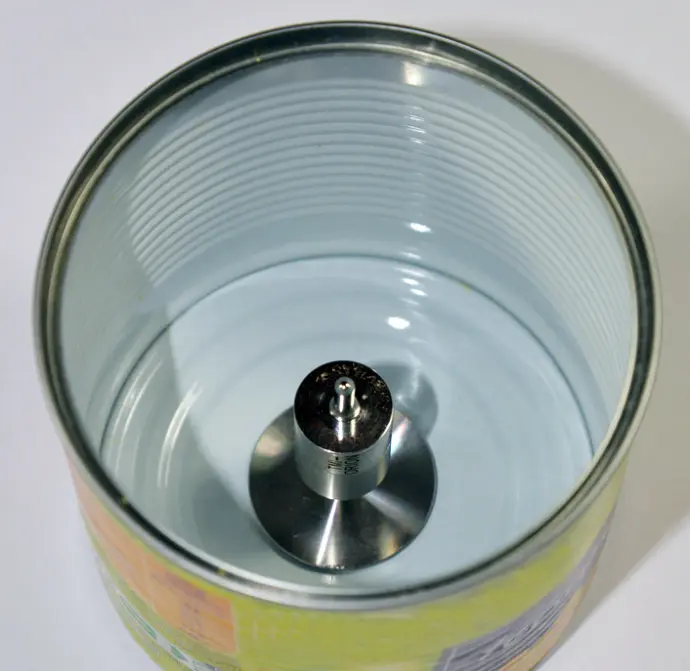
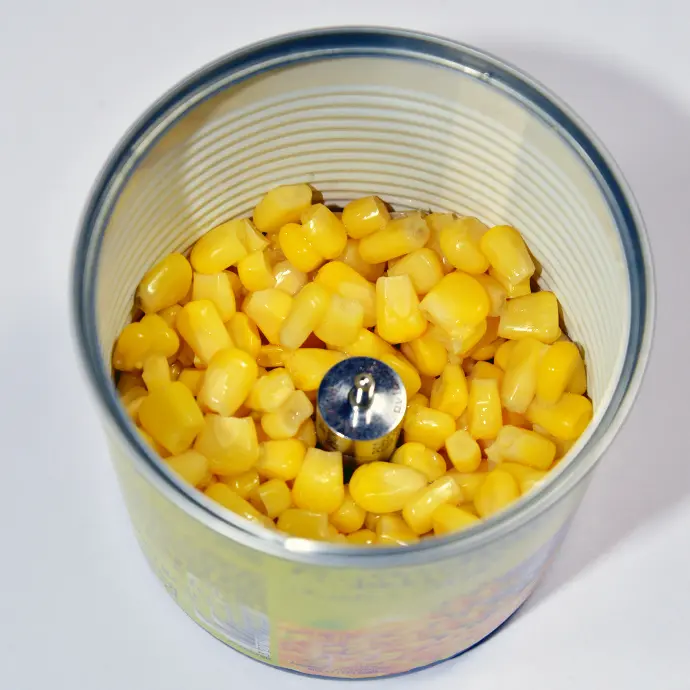
Assembly with the Positioning kit - straight (KIT_TIN_PVQ) and high temperature adhesive tape (ADHESIF_HT).
Logger inside the metal can – positioning on the wall
- Glue the logger directly to the wall of the can with a piece of high temperature adhesive tape. The logger sensor must be at the cold point.
High temperature adhesive tape (ADHESIF-HT):
For PicoVACQ without thread.
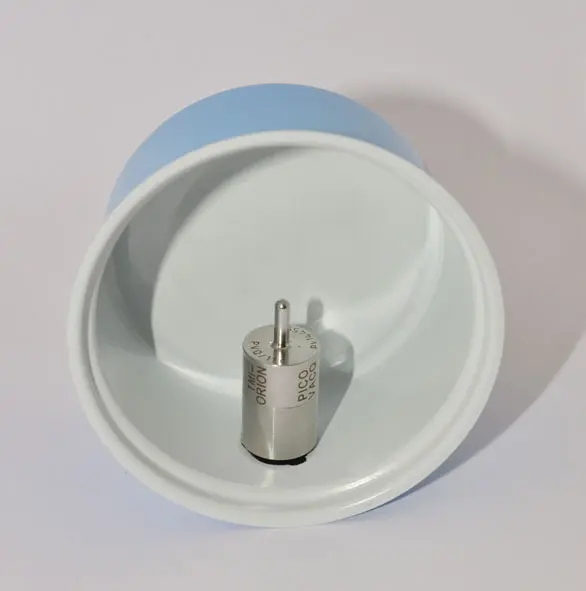
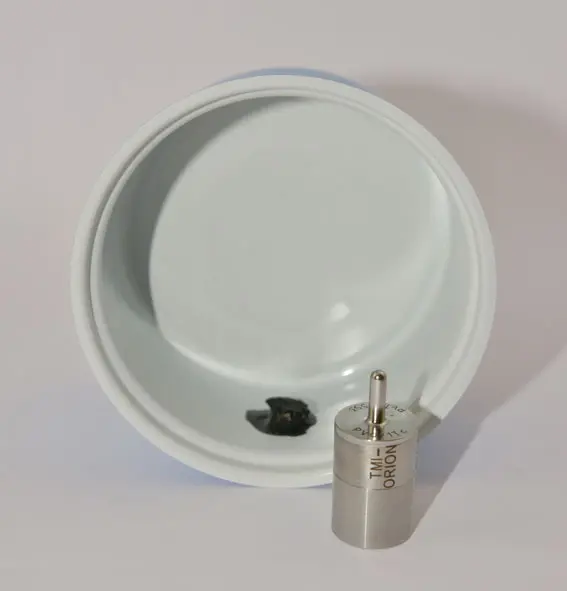
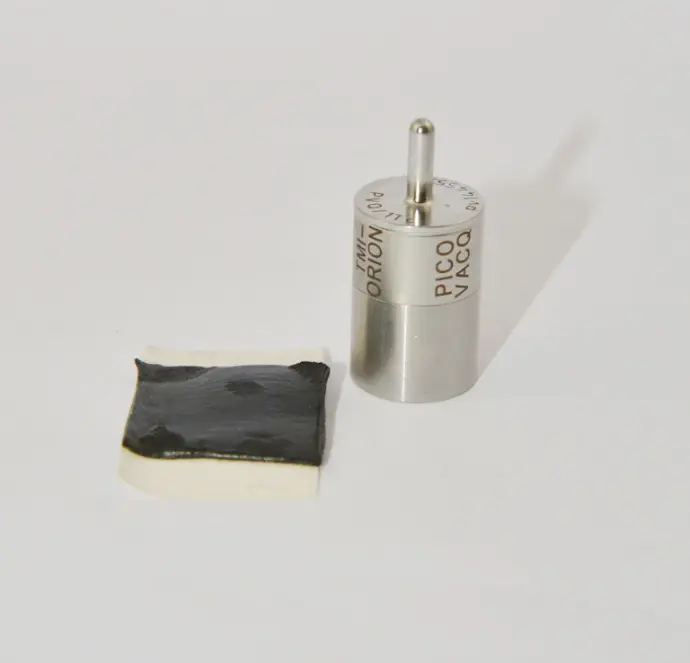
Assembly with high temperature adhesive tape (ADHESIF_HT).
Logger inside a metal can with grooves
- Screw the PicoVACQ on the thread of the spring ring.
- Insert the spring ring inside the can by pressing it with the hand than releasing it at required height.
- Make sure you place the spring ring between two grooves for a better positioning.
For PicoVACQ with thread.
The Positioning kit for cylindric cans with grooves (KIT_GROOVE_PVQ) maintains the logger at a given point inside a can. It includes a spring ring with a central arm ended by a thread.
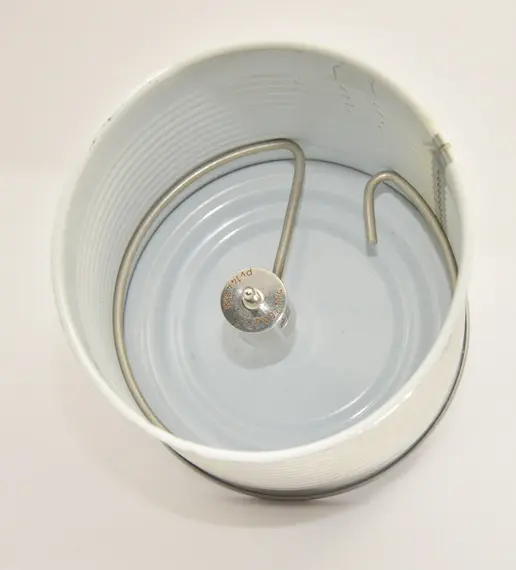
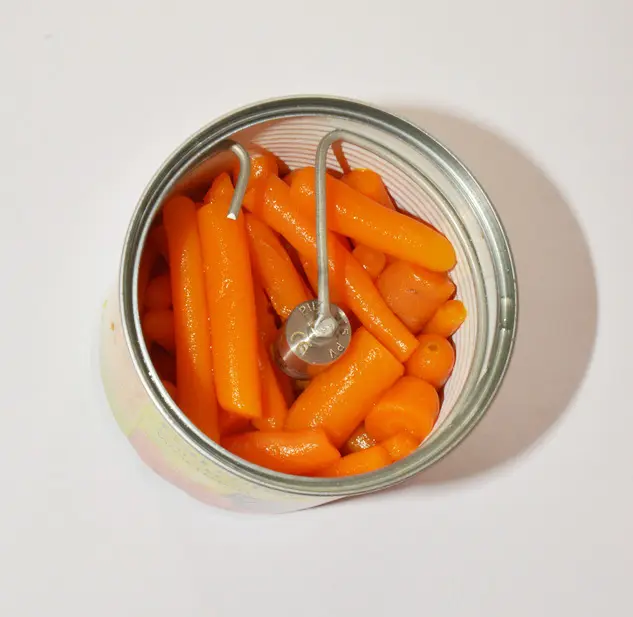
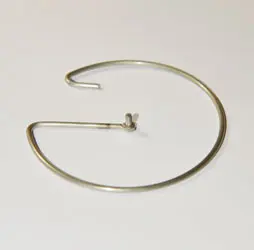
Assembly with Positioning kit for cylindric cans with grooves (KIT_GROOVE_PVQ).
Logger inside a metal can without grooves
Place an o-ring around the logger.
Insert the o-ring in the slot of the spring clip central arm.
Insert the spring ring inside the can by pressing it with the hand than releasing it at required height.
For PicoVACQ
The Positioning kit for cylindric cans without grooves (KIT_GROOVELESS_PVQ) maintains the logger at a given point inside a can. It includes a spring clip with a central arm ended by a clip.
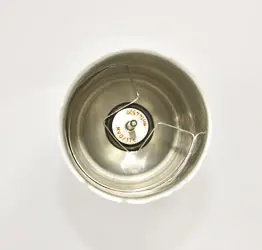
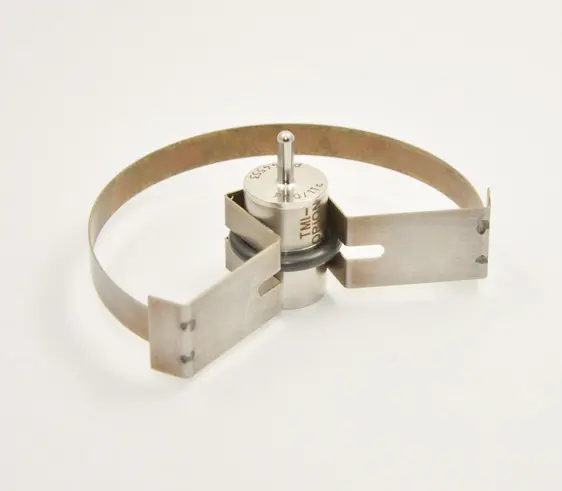
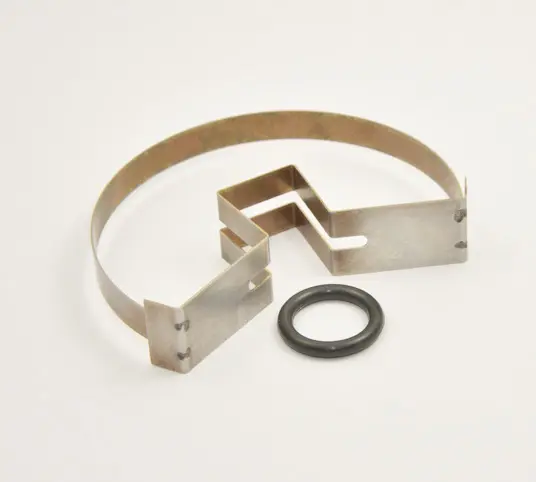
Assembly with Positioning kit for cylindric cans without grooves (KIT_GROOVELESS_PVQ).


